Back On Board!

Another school year has begun and our class has resumed work on the Pearson Ensign Project after a long standstill. Since school has started we have first been able to bring the boat back into the workshop. The beginning steps have included cleaning out the boat’s interior, sanding the deck floorboards along with the exterior of the boat, and identifying the boat’s hardware and fixtures.

At first sight, the boat appears to be quite a mess – and in all honesty, it is. There is still much work to be done, and at times the tasks needed to be done seem overwhelming, but we are prepared to do our best and work our hardest. We are all excited to see how this project will unfold!

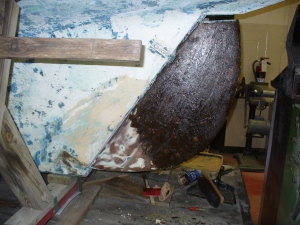
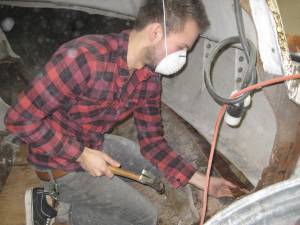
Jason begins removing flaking gelcoat from the hull.

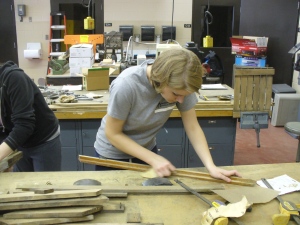
Jessica and Charlene sort and inventory deck hardware.

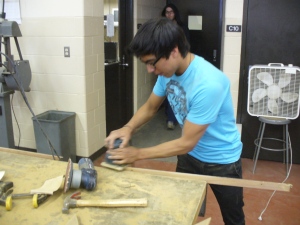
Gerred sands a portion of the cockpit floor.


Fear Not

Although the realities of a complex curriculum dictated that there was no time for work on the Ensign this year, next year’s schedule brings back the Nautical Lit. course and adds an Applied Arts course devoted solely to the Ensign restoration. To be honest, I had feared that there wouldn’t be much progress this year, but I was hopeful. Now there is more than just hope for next school year!

End of the Year

Our school year is coming to an end and with it the end of work on the Ensign. There simply has been too much to accomplish in too little time to devote time outside of school to the project during the last few weeks. It’s tough not to feel like the project has stalled, but I guess that’s the reality of a school project. Work will resume in August when summer is over. Until then, our apologies to those who enjoyed following our progress. We promise to provide plenty of boat “fixes” over the winter of 2010!

Bulkhead Installation

Well, we got the main bulkhead installed, but it has really hampered access to the cabin. Something’s not right.

Bulkhead - get it?!

After two Fridays away from the Ensign project, Nick, Tony and I got busy cutting and installing the main cabin bulkhead this afternoon. Tony had carefully trimmed and tweaked our cardboard template a couple weeks ago, so all we had to do was position the template on our 4’x8′ sheet of 3/4″ Meranti plywood, trace around the edges, then cut out the bulkhead with a Sabre saw. Nick took care of that, and we put it in the boat for a trial fit. The outboard edges turned out to be a little too wide, so we trimmed a bit off each side and gave it another try.

Meranti plywood is heavy stuff, and it took some grunting and maneuvering to get it in place. Tony carried the top part of the bulkhead forward into the cabin while Nick and I supported the bottom. We then raised the top of the bulkhead toward the overhead and pushed the bottom down toward the bilge, hoping that the bulkhead would slide into place as the cardboard template had. If only it were that easy. The geometry of a one-piece bulkhead is all wrong for maneuvering within the angles, curves and confines of a hull. Every edge seemed to hang up on something – the cabin sides, the overhead, the lateral stringers in the cockpit, the chainplate knees…. Eventually, with Tony on the inside, we pounded and pried the bulkhead into place. Once set home, it fit perfectly. The difference in thickness between the cardboard and the plywood, plus the fact that the cardboard flexes, made placement difficult, but we knew it would be a tight fit until the bulkhead geometry matched the hull contours.

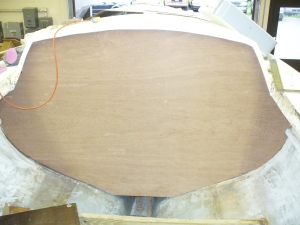
The main bulkhead in position

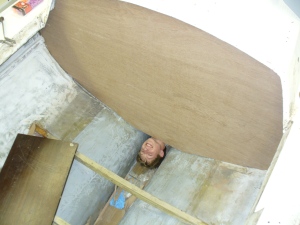
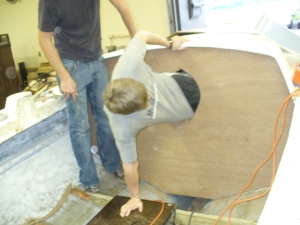
Nick and I were ready to call it a day, but Tony objected to being stuck in the cabin so we marked out a suitable opening and got out the Sawzall. What followed was a little like being born again.

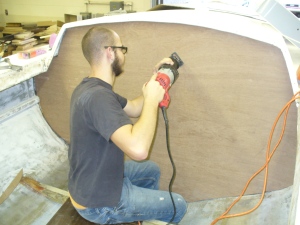
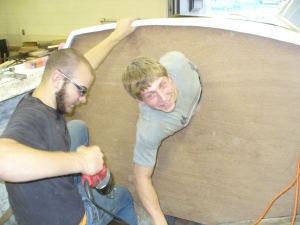
Nick opens the bulkhead for Tony's great escape

As it turns out, Tony’s quite the contortionist.

Tony emerges from the darkness and into the light

Tony can taste freedom now!

Why not make a bigger opening or place the bulkhead without trapping a guy on the inside? Two reasons: 1) we needed Tony on the inside to help position the bulkhead, and 2) this approach was far more amusing. Thanks, Tony, for the entertainment and laughs!

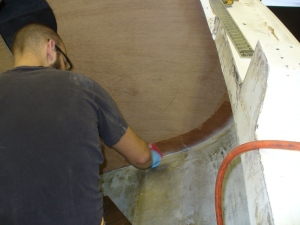
Nick finished this phase of the bulkhead installation by making fillets along the edge where the bulkhead meets the hull. This fillet provides a smooth transition for the fiberglass tabbing, which we’ll be adding next week (yours truly forgot the tape at home!).

Nick uses thickened epoxy to create a fillet

Heavy Lifting

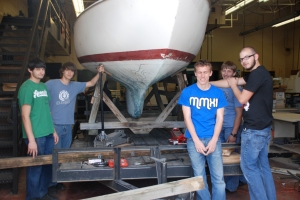
Who needs Atlas, or Samson, or Clark Kent when you have strapping young men with brains and brawn?!

The Ensign had been sitting on our borrowed flatbed trailer long enough and needed to come off so the trailer could be returned today. I had scavenged some 4×4 and 2×6 lumber from my kids’ swing set earlier this week (sorry boys), so the guys cobbled together two hefty beams wide enough to span the trailer, then began the careful task of raising the boat high enough to insert the beams and clear the wheel wells so the trailer could be pulled out. The process involved lifting the boat incrementally – a little at the bow, then a little at the stern, then back to the bow, and so on – to prevent it from becoming unstable. With each lift we raised the jack stands supporting the beams a little higher. We took our time and ensured that our supports were well-positioned and that our beams were bearing the weight well. It took us about 90 minutes to get the boat ready to pull the trailer out, then it took us about two hours to lower the boat gradually, again alternating between the bow and the stern to prevent the boat from sliding off the stands or pitching precariously. Admittedly, there were a few comments that were immediately hushed before they could be fully uttered, things like “Imagine if it started to ….” or “Man, that would stink if…”. Like all prudent mariners, we’re superstitious, so we quickly squelched any frivolity. Fortunately, all went well. The Ensign now rests safely on the shop floor. Phew! I realize this totally dates me, but in the words of Ice Man to Maverick: I’d be happy to have these guys as my wingmen any day!

Getting ready to insert the beams under the cradle (not sure why Tony and Jared are asleep on the job!)

Boat lifted and trailer out, ready to come back down - slowly!

Toward Reconstruction

The biggest news is that we’ve turned the corner on the interior work and have begun rebuilding. With all of the old, nasty foam out and the interior sanded and bare, we were ready to replace the interior bulkheads.

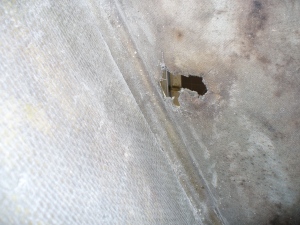
Before we could place the forward bulkhead there was some work to take care of in the forepeak. At some point the old bow pulpit, which had been secured with toggle bolts, had been torn from the deck, ripping out significant portions of deck – core and all. Since the forward bulkhead would limit access, we had to adhere fiberglass cloth to the underside of the interior laminate prior to closing off the area. This layer of cloth will form the base of our deck when it comes time to re-core that area. Sorry, we didn’t get any pictures of the glass in place because our fingers were sticky. Here’s what we were dealing with:

Holes in the foredeck due to torn bow pulpit

Two forward bow pulpit holes in forepeak

Earlier in the week we visited Johnson’s Workbench in South Bend, Indiana, where we picked up two sheets of Hydro-Tek (Meranti) plywood certified to BS1088. That certification comes at a steep price – 113.00 per sheet of 3/4″ and 82.00 per sheet of 1/2″ – but the special “marine” glues and void-free construction will guarantee another thirty-some years of sailing for #1240.

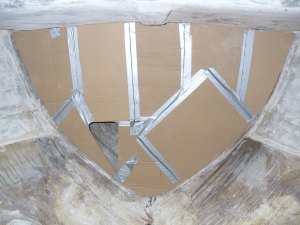
We started work Friday by carefully constructing a template for the forward bulkhead out of cardboard scraps. We started with the upper-center portion, notching the top to fit the overhead contour, then taped a piece on either side and worked our way down until we’d filled the area. Our finished template wasn’t attractive, but it fit well.

Forward bulkhead template in place

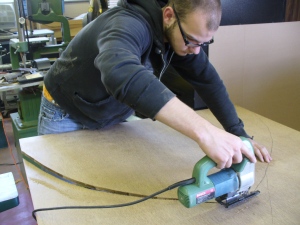
We transferred the forward bulkhead template to our 1/2″ Meranti plywood and used a Sabre saw to cut it out.

Nick G. cuts out the forward bulkhead

Alex S. finishes the cut

A test fit confirmed that the bulkhead would fit well, so we mixed up some epoxy to coat the plywood’s edges and then set the bulkhead in place using thickened epoxy. It was at this point that we realized we should have had a plan for holding the bulkhead in place while the epoxy cured. Although the dry fit seemed to indicate that the bulkhead would stay put on its own, the epoxy allowed it to creep around, forcing us to improvise. After squaring the bulkhead (we’d already leveled the boat), we wedged some braces in place to keep things where they needed to be.

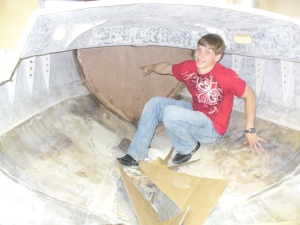
Tony models the new foward bulkhead

We exhausted what little epoxy we had by filleting the lower half of the bulkhead (and a little on top), so we’ll have to fill in the rest once we have new supplies. Our lack of epoxy also meant that we had to postpone tabbing the bulkhead to the hull.

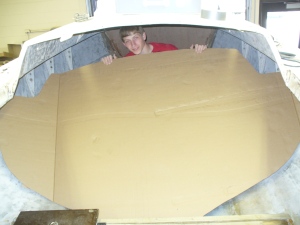
Tony J., Nick G. and I turned our attention to the main bulkhead while the epoxy cured. We found a nice large scrap of cardboard in the shop and appropriated it for our next template. With Tony inside the cabin, Nick and I braced the outside of the cardboard while Tony bent and cut it to shape. There were some places where it took the hull contours well, but in other places it just wouldn’t cooperate. We decided at that point to modify our approach and use that template as a pre-template on which we would transfer the hull shape with the aid of a compass. We dragged one edge of the compass along the contour of the hull while the other end transferred that shape about two inches into our template. With that done, we removed the template, grabbed another large piece of cardboard, and transferred our hull contour onto the new piece. We cut the new template to size and conducted a trial fit. With a bit of trimming, it fit perfectly and is ready to be used to trace onto the 3/4″ plywood.

Tony poses with our pre-template template for the main bulkhead

With that done, we cleaned up the shop and called it a day, knocking off a bit early due to other commitments.

This and That

Today we spent some time as a class doing a few odd jobs. Some sanded. Some cleaned the rubrails. Some wiped the hull with solvent. Most of us worked.

Daniel R. sands

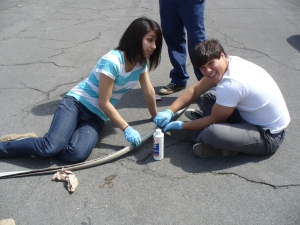
Constanza and Michael do their best to clean the rubrail

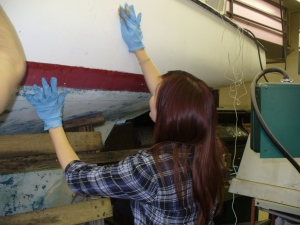
Klara solvent washes the hull prior to sanding

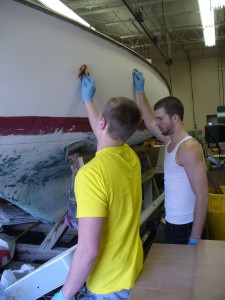
Matt and Josh solvent wash the hull too

Kaitlyn and Becky sand the tiller for refinishing

Alex sands trim pieces

Bonnie sands more wood

Port side of rudder blade partially coated with epoxy

Still grinding away at it

Today marked the conclusion of week three of the project, and things are moving along steadily.
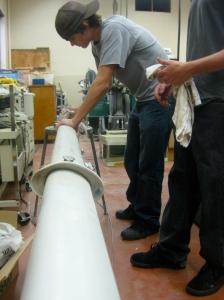
The class spent some time in the shop during the week sanding, cleaning the spars, and scrubbing deck hardware, while others continued to chip/gouge/pry/slice the remaining pour-in foam out of the aft area of the boat. We ultimately decided to remove a small bulkhead at the aft end of the cockpit to gain access to the foam from under the deck. Additionally, we opened up a 12″x12″ hole in the aft deck to improve access, which made a significant difference. Tony, Michael R., Nick and Alex S. chipped away at it, and Tony finally finished the job today, pulling out chunks of foam occupied by a colony of large black ants.
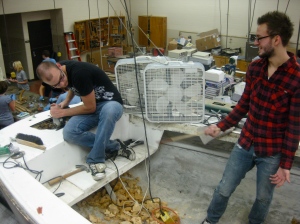
Nick removes foam from the aft compartment

Opening up the hole in the aft deck confirmed what we already knew: the majority of the balsa core that strengthens the deck structure is soggy and rotten. That means it’s necessary to remove most of the top layer of fiberglass on the aft deck, scoop away the old balsa, and then re-glass the entire area, carefully fairing it before painting. I know there are at least two other areas of substantial core damage that will need to be addressed as well.

Michael D., Joey W. and Oliver S. completed the first step in preparing the topsides for sanding by transferring the bottom of the boot stripe (the horizontal red line at/near the waterline) 3″ lower. Doing so allows us to sand the topsides and boot stripe while maintaining a reference line that we can bring back up 3″ when the time comes to paint the new boot stripe.
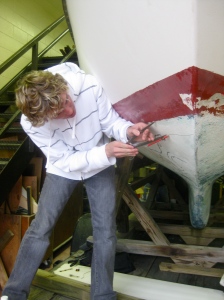
Michael D. transfers the bootstripe

Matthew O. tackled the rudder repair Wednesday afternoon. Earlier, we had removed two of the three boards that comprise the rudder blade, leaving the primary board that attaches to the rudder post in place. The two pieces we removed had separated (if they were ever attached) from their surrounding joints, and a previous owner had attempted unsuccessfully to re-attach them with some kind of caulk. We removed the caulk and cleaned up the edges with a light sanding. Matthew O. wiped the mating surfaces with acetone while I mixed up some epoxy. We coated the raw edges in unthickened epoxy, then added thickener to the mix and bonded the pieces of rudder blade to each other, making sure that plenty of epoxy oozed out from the joints. We smoothed the excess and left the epoxy to set.
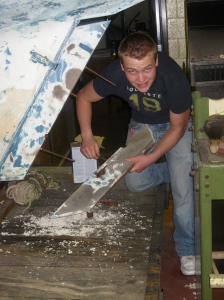
Matthew O. preps the rudder sections for epoxy.
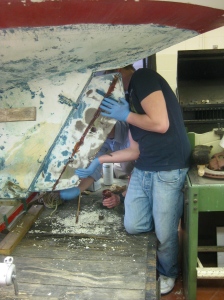
The first rudder section is epoxied to the main portion of the blade

Today I sanded down the epoxy that had squeezed out of the joints, and gave the rudder a light sanding to prepare the surface for fairing with thickened epoxy. We used up our last little bit of hardener, so we had only enough epoxy to fill two holes in the blade, which allow access to threaded rods that support the blade, and give the top portion a coat of fairing compound. We’ll finish fairing next week when we have more materials. In the meantime, the rudder is looking good and inspires much more confidence than it did a few days ago.
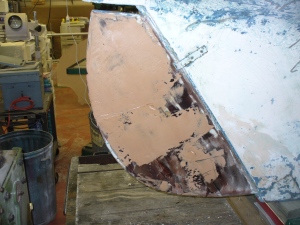
Rudder with a thin coat of fairing epoxy (before we ran out of epoxy)
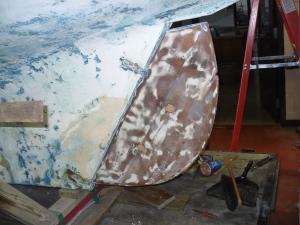
Rudder blade epoxied together and sanded

Once again, I donned the full-face respirator and climbed into the cabin to finish sanding the sides and overhead. Sadly, I’ve discovered that it’s much more difficult to hold a 6″ RO sander over my head for any length of time than it used to be just a few short years ago! The good news is that this portion of the job is nearly over. There is only a small patch (that I forgot) that needs sanding. When that’s done, we are officially ready to begin reconstructing the cabin interior. I’ll be happy to be into reconstruction, which should begin next Friday.

Nick and Alex S. spent much of the afternoon polishing the various pieces of deck hardware and rigging – winches, cleats, chainplates – and had a very shiny (and pretty) collection before too long. As Tony remarked, the boat will look like new when she’s finished.
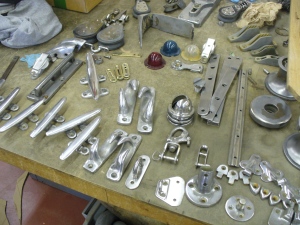
Freshly polished hardware

We concluded the day’s work with a good cleaning of the boat and the shop. And then we did the most enjoyable thing of all…we spent half an hour sitting in the empty cockpit admiring our work and imagining the future. These are great kids.
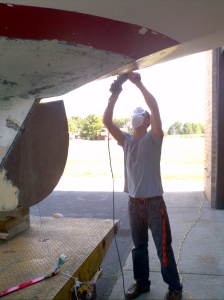
Scratch and itch

I think that title may have been used in Don Casey’s “This Old Boat,” but it’s applicable to the work underway on the Ensign. We’ve been grinding, sanding, and grinding some more in preparation for interior reconstruction, and we’re nearly there.

Tony, Nick, Alex S., Bonnie, and Michael D. continued work Friday afternoon. Bonnie settled in with the RO sander and sanded part of the cockpit and bilge. When she’d had enough of the dust, she turned her attention to cleaning the deck hardware – i.e., winches, cleats, etc – in kerosene.

Tony, Nick and Alex cut out the rear bulkhead at the aft end of the cockpit and began removing some more pour-in foam. With limited access, that job is proving to be tough.

Michael D. sounded the decks and circled areas where the core is likely damaged. The starboard sidedeck from the winch base to the chainplates is soggy. The foredeck triangle from the stem fitting aft about 2-1/2 feet is soggy, and the aft deck is shot. We’ve got a fair amount of core replacement to take care of. Typical deck construction consists of a layer of end-grain balsa sandwiched between two layers of fiberglass: the upper skin, which forms the deck, and the lower skin, which forms the bottom of the deck and the interior of the cabin. Repair requires removing the top skin, scraping out all of the damaged (wet) balsa, cleaning the lower skin, then placing new balsa in a bed of epoxy before finally covering it with new fiberglass. Once that’s done, the surface will need to be faired, primed and painted. We’ll postpone deck work until we have the interior bulkheads reinstalled.
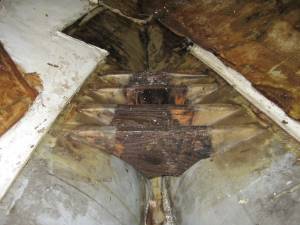
I spent some time sanding the interior of the cabin with the RO sander and 80 grit paper to prepare the surfaces for fiberglassing and, eventually, paint.

We ended the day by setting two of the cockpit floors (grate supports) in thickened epoxy. We’ll get an order in for marine-grade plywood and begin reconstructing the cabin on Friday, if all goes as planned.

One week in

I couldn’t be more pleased. The kids have accomplished a significant amount of work in a relatively short time. Nearly all of the woodwork has been cleaned and sanded in preparation for varnish, the interior of the boat is gutted and almost ready for rebuilding, two of the sails have been cleaned, and the shop and boat got a good cleaning this afternoon. Only one week in and things are moving right along.

Fridays are going to be our major work days thanks to noon dismissal. Some of the kids with either a study hall or a home pass during the last period of the day M-TH may opt to stick around and work on the boat, but Fridays from here on out are the only scheduled time to continue the project.

Today only a handful of students showed up, but we were enough to make significant headway.

Michael R., Tony J., and Jared C., faithfully and determinedly, continued sanding and prepping the woodwork. They now have the majority of the sanding done. Perhaps we did things a little backward, but we started sanding the worst of the damaged wood and then tried a chemical treatment, TeKa. We probably would have started with the TeKa if I’d thought to bring it last week when we started the process, but quite honestly I don’t think it would have made much of a difference. The teak was so badly weathered that sanding was inevitable. The guys issued several oohs and ahhs when they saw the treated teak and realized that all their hard work was paying off.

Nick G., Alex S., and I continued the interior demolition. I brought my angle grinder and full-face respirator so we could remove the plywood pieces that were still attached to the hull with fiberglass tabbing – i.e., long, narrow strips of fiberglass. Our goal was to have the interior completely prepped for reconstruction so we could pull the boat outside while it was still on the trailer and give it a good washing to clear away the dust and grime before beginning the rebuilding. Cutting out the old bulkheads took more time than anticipated, however.

Nick works to remove the tabbing

Alex pries out tabbing

Grinding the tabbing with flapper wheel

On the recommendation of another Pearson Ensign owner who is in the middle of a similar restoration, we decided to cut out the old cabin floor while we were in there to expose the supports for the mast step, an aluminum collar that secures the foot (bottom) of the mast. We hadn’t planned on removing the cabin floor, but the potential for water damage beneath it meant that we ought to investigate, especially since we’re already doing so much reconstruction (uh, demolition). The supports were solid but wet, so they will be removed and replaced and the cabin sole (floor) rebuilt.

Wet mast supports that will be replaced

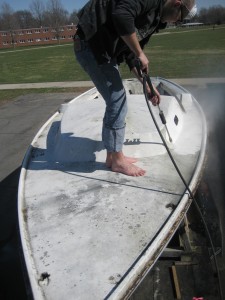
After grinding much of the tabbing with an abrasive flapper wheel, we’d had all the dust we could handle for the day and decided to clean up the boat and shop. We moved the boat outside and Nick G. and Alex S. gave her a good cleaning with a power washer (many thanks to Nick’s aunt, Tina, for letting us borrow it!). Satisfying is hardly the word to describe the feeling of watching all the gunk and grime being blasted off of the hull and deck. At times, the sunlight reflecting off of the hull was too bright to look at without squinting. Imagine how she’ll look when she’s freshly painted and polished!

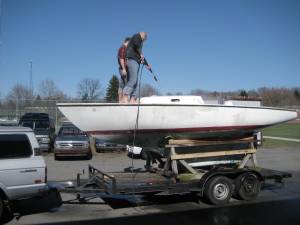
Nick and Alex power washing the hull and deck

Years of grime

Interior nearly gutted

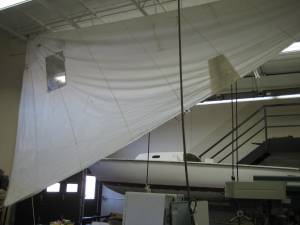
Genoa washed and drying

Mainsail cleaned and drying

Thus ends week one.