Bulkhead Installation
Well, we got the main bulkhead installed, but it has really hampered access to the cabin. Something’s not right.
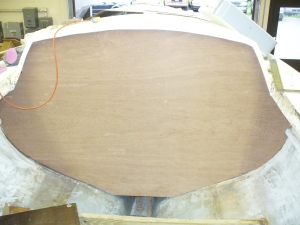
After two Fridays away from the Ensign project, Nick, Tony and I got busy cutting and installing the main cabin bulkhead this afternoon. Tony had carefully trimmed and tweaked our cardboard template a couple weeks ago, so all we had to do was position the template on our 4’x8′ sheet of 3/4″ Meranti plywood, trace around the edges, then cut out the bulkhead with a Sabre saw. Nick took care of that, and we put it in the boat for a trial fit. The outboard edges turned out to be a little too wide, so we trimmed a bit off each side and gave it another try.
Meranti plywood is heavy stuff, and it took some grunting and maneuvering to get it in place. Tony carried the top part of the bulkhead forward into the cabin while Nick and I supported the bottom. We then raised the top of the bulkhead toward the overhead and pushed the bottom down toward the bilge, hoping that the bulkhead would slide into place as the cardboard template had. If only it were that easy. The geometry of a one-piece bulkhead is all wrong for maneuvering within the angles, curves and confines of a hull. Every edge seemed to hang up on something – the cabin sides, the overhead, the lateral stringers in the cockpit, the chainplate knees…. Eventually, with Tony on the inside, we pounded and pried the bulkhead into place. Once set home, it fit perfectly. The difference in thickness between the cardboard and the plywood, plus the fact that the cardboard flexes, made placement difficult, but we knew it would be a tight fit until the bulkhead geometry matched the hull contours.
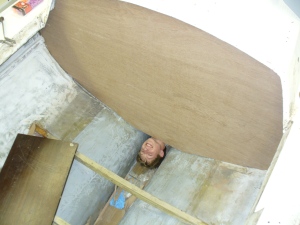
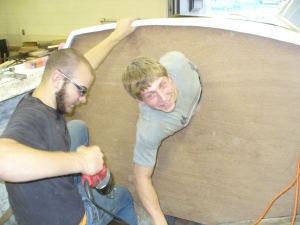
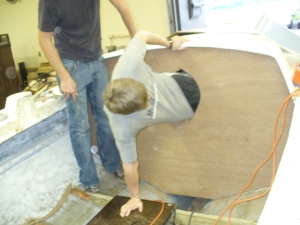
Nick and I were ready to call it a day, but Tony objected to being stuck in the cabin so we marked out a suitable opening and got out the Sawzall. What followed was a little like being born again.
As it turns out, Tony’s quite the contortionist.
Why not make a bigger opening or place the bulkhead without trapping a guy on the inside? Two reasons: 1) we needed Tony on the inside to help position the bulkhead, and 2) this approach was far more amusing. Thanks, Tony, for the entertainment and laughs!
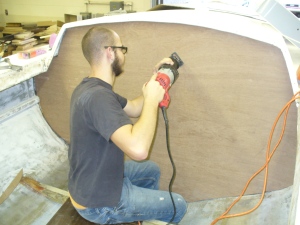
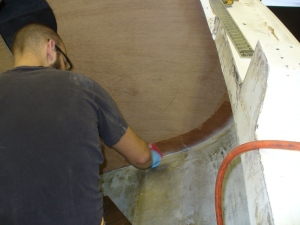
Nick finished this phase of the bulkhead installation by making fillets along the edge where the bulkhead meets the hull. This fillet provides a smooth transition for the fiberglass tabbing, which we’ll be adding next week (yours truly forgot the tape at home!).
Very fine work. I curious, though, have you finished the construction of the cuddy or is the bulkhead integral to the cuddy design? Probably the later. Still enjoying this blog.
Hey David,
The main bulkhead is integral to the interior construction. The interior sole will go down first, then the vertical faces, then the bunks, all attaching at the aft end to the main bulkhead in one way or another. At least that’s the plan. The interior reconstruction will begin once we determine whether or not the forward bulkhead needs to come out to brace the foredeck during the re-core. That was a piece I hadn’t thought through carefully enough. It may be that we’ll need to take that forward bulkhead out temporarily – we’ll see. Thanks for checking in!
Nice blog and wonderful class project! We’ll see what we can do to spread the word, David.