Toward Reconstruction
The biggest news is that we’ve turned the corner on the interior work and have begun rebuilding. With all of the old, nasty foam out and the interior sanded and bare, we were ready to replace the interior bulkheads.
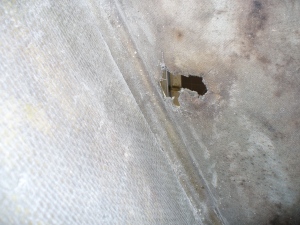
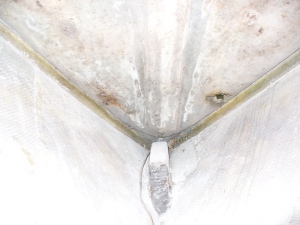
Before we could place the forward bulkhead there was some work to take care of in the forepeak. At some point the old bow pulpit, which had been secured with toggle bolts, had been torn from the deck, ripping out significant portions of deck – core and all. Since the forward bulkhead would limit access, we had to adhere fiberglass cloth to the underside of the interior laminate prior to closing off the area. This layer of cloth will form the base of our deck when it comes time to re-core that area. Sorry, we didn’t get any pictures of the glass in place because our fingers were sticky. Here’s what we were dealing with:
Earlier in the week we visited Johnson’s Workbench in South Bend, Indiana, where we picked up two sheets of Hydro-Tek (Meranti) plywood certified to BS1088. That certification comes at a steep price – 113.00 per sheet of 3/4″ and 82.00 per sheet of 1/2″ – but the special “marine” glues and void-free construction will guarantee another thirty-some years of sailing for #1240.
We started work Friday by carefully constructing a template for the forward bulkhead out of cardboard scraps. We started with the upper-center portion, notching the top to fit the overhead contour, then taped a piece on either side and worked our way down until we’d filled the area. Our finished template wasn’t attractive, but it fit well.
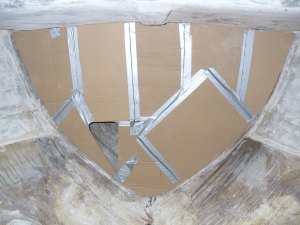
Forward bulkhead template in place
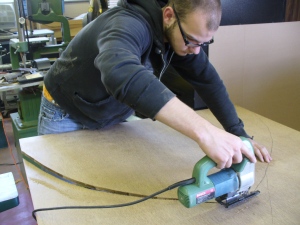
We transferred the forward bulkhead template to our 1/2″ Meranti plywood and used a Sabre saw to cut it out.
A test fit confirmed that the bulkhead would fit well, so we mixed up some epoxy to coat the plywood’s edges and then set the bulkhead in place using thickened epoxy. It was at this point that we realized we should have had a plan for holding the bulkhead in place while the epoxy cured. Although the dry fit seemed to indicate that the bulkhead would stay put on its own, the epoxy allowed it to creep around, forcing us to improvise. After squaring the bulkhead (we’d already leveled the boat), we wedged some braces in place to keep things where they needed to be.
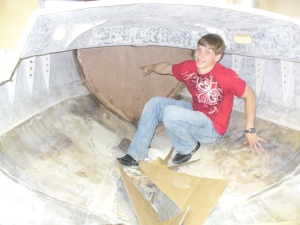
Tony models the new foward bulkhead
We exhausted what little epoxy we had by filleting the lower half of the bulkhead (and a little on top), so we’ll have to fill in the rest once we have new supplies. Our lack of epoxy also meant that we had to postpone tabbing the bulkhead to the hull.
Tony J., Nick G. and I turned our attention to the main bulkhead while the epoxy cured. We found a nice large scrap of cardboard in the shop and appropriated it for our next template. With Tony inside the cabin, Nick and I braced the outside of the cardboard while Tony bent and cut it to shape. There were some places where it took the hull contours well, but in other places it just wouldn’t cooperate. We decided at that point to modify our approach and use that template as a pre-template on which we would transfer the hull shape with the aid of a compass. We dragged one edge of the compass along the contour of the hull while the other end transferred that shape about two inches into our template. With that done, we removed the template, grabbed another large piece of cardboard, and transferred our hull contour onto the new piece. We cut the new template to size and conducted a trial fit. With a bit of trimming, it fit perfectly and is ready to be used to trace onto the 3/4″ plywood.
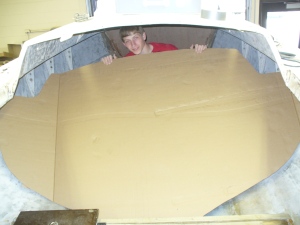
Tony poses with our pre-template template for the main bulkhead
With that done, we cleaned up the shop and called it a day, knocking off a bit early due to other commitments.
